To cut straight to the point, I’m going to make some assumptions if you’re looking for a solution to the problem mentioned above:
- You have an existing project & you want to run a React JS on it
- You have npm installed on your machine
- You already have a working Grunt setup that includes Browserify, Babelify, Grunt Watch & Uglify
- You have a basic understanding of React JS
O npm, where art thou?
First things first, we need to install React, React-dom, Babelify, Babel React preset with npm into our project, so in the terminal cd to your project and enter the commands
npm i react react-dom babelify grunt-browserify uglifyify grunt-env @babel/preset-react @babel/preset-env --save-dev
Then we need to open our browserify.js file within the Grunt folder and add the following presets into the options for the browserify task.
transform: [
	['babelify', {
		presets: ["env", "react"]
	}]
],
Head on over to your markup and create your element that will house your React content and give it an id.
<div id="my-amazing-react-component"></div>
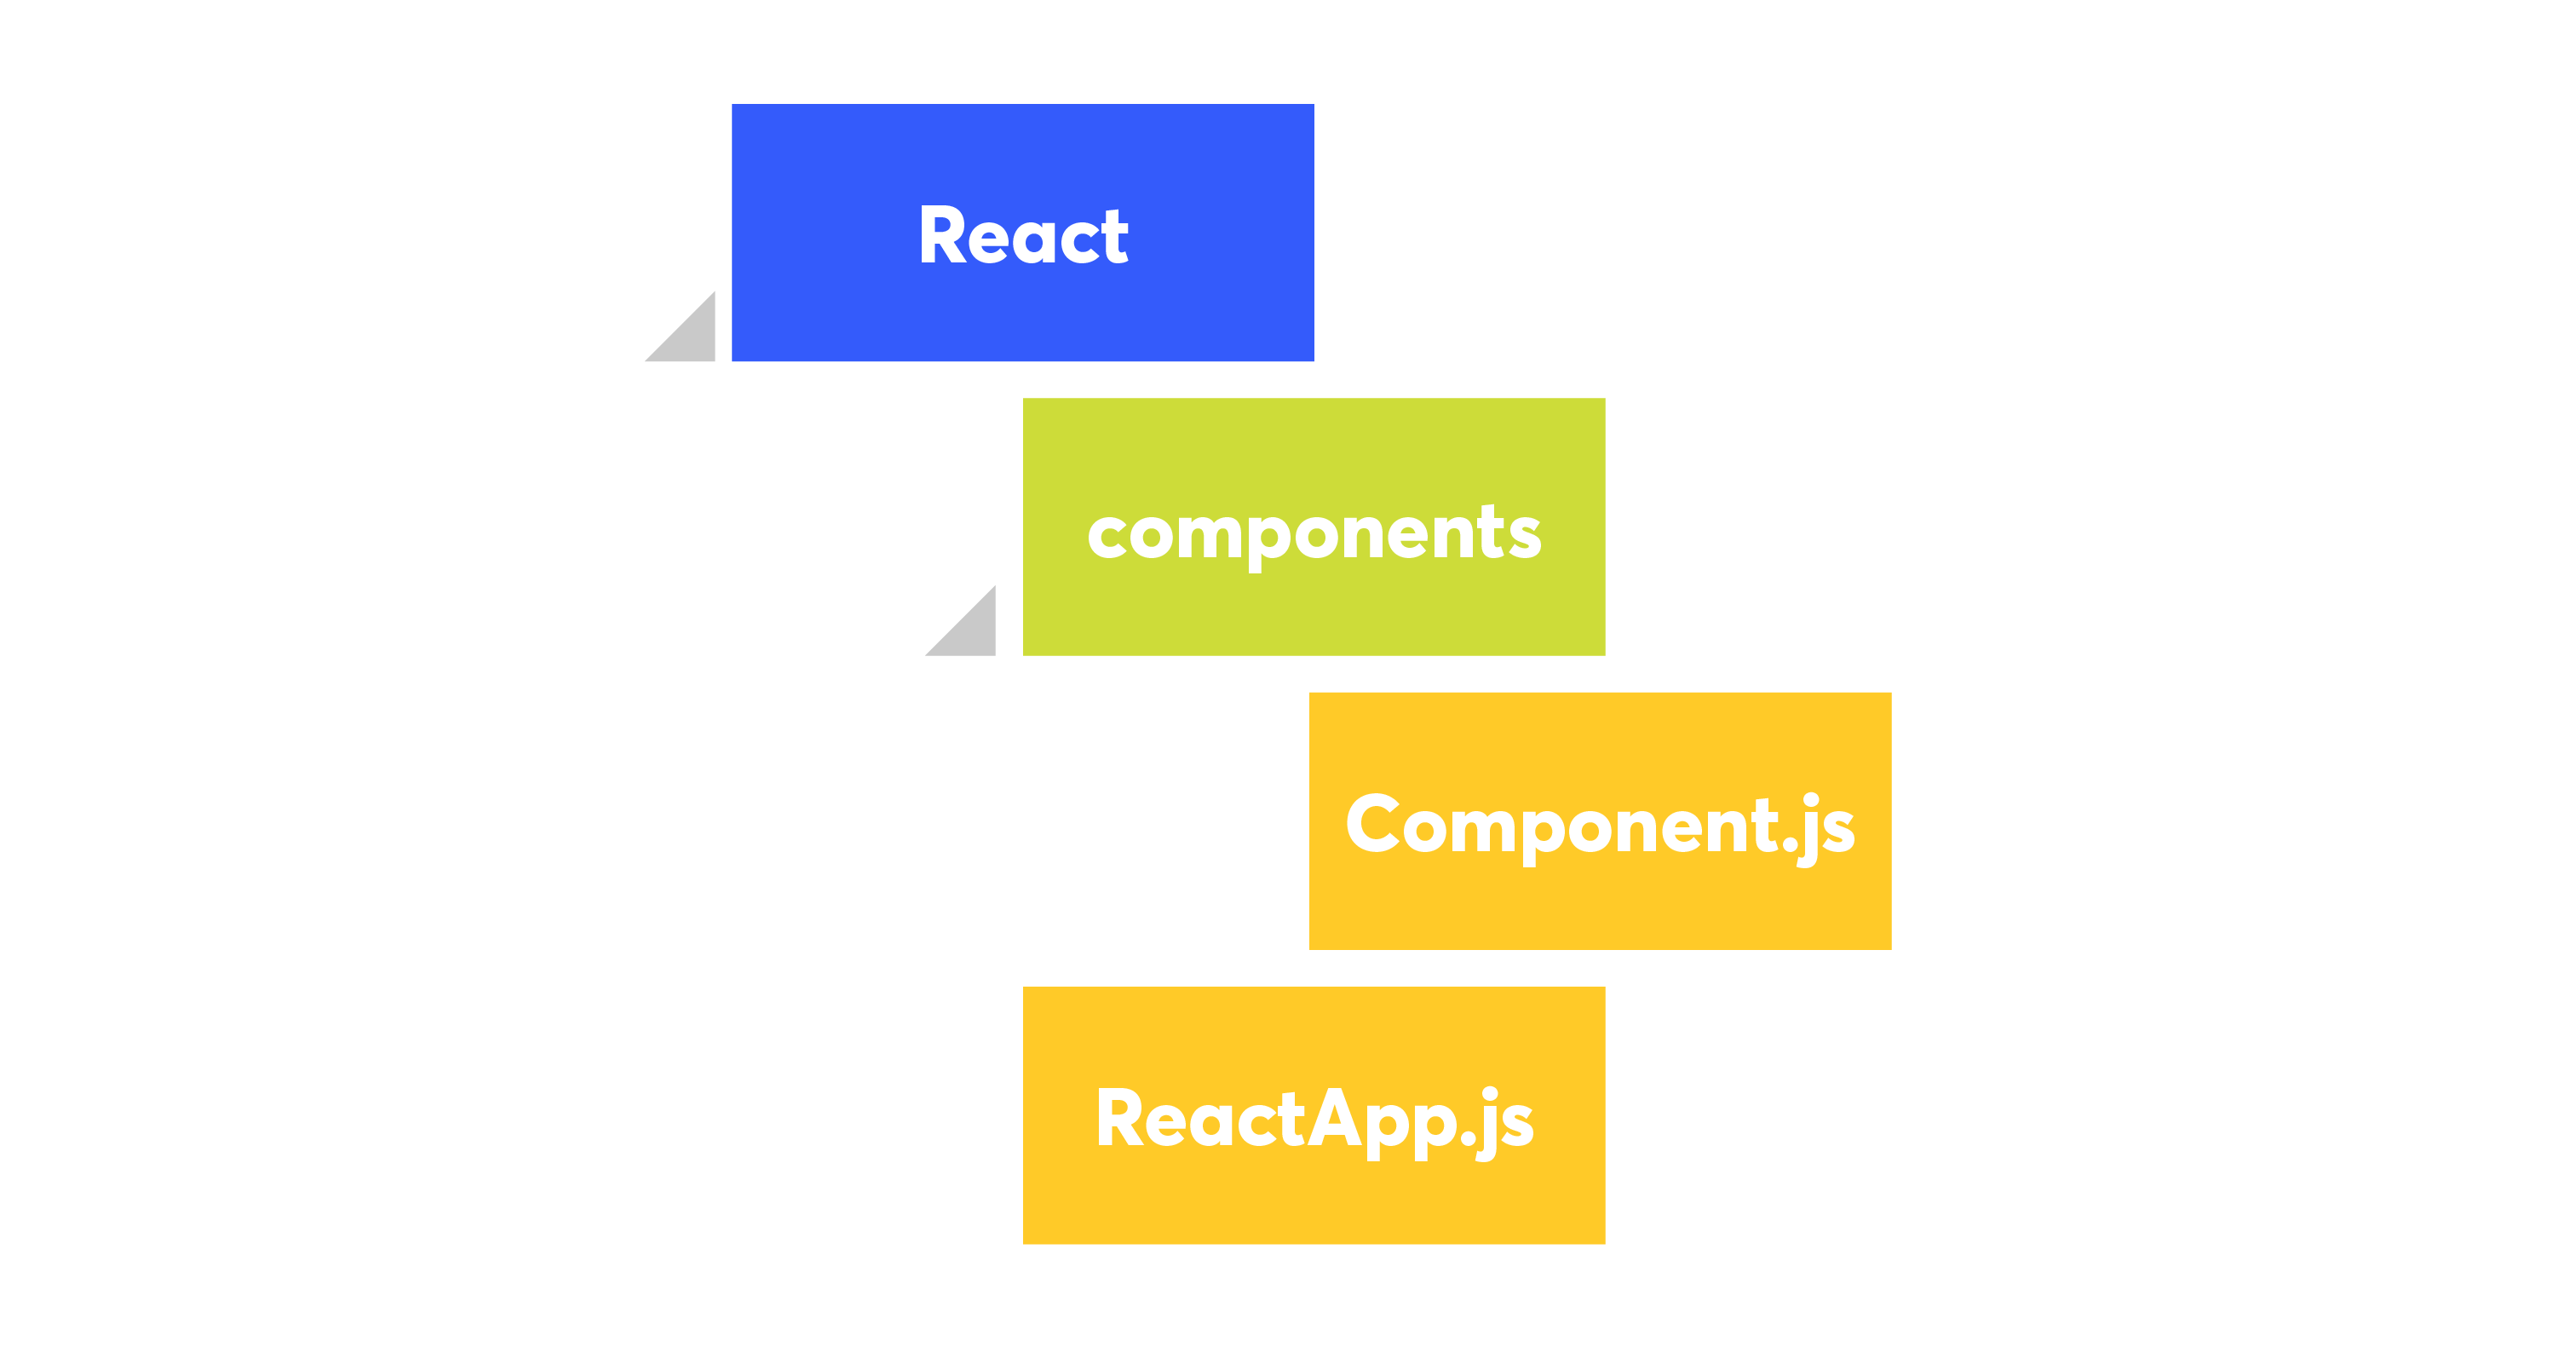
File structure side note
Your new main React JS file will house all your other components should be created in a separate folder to keep it organised and away from your existing JavaScript.
Doing this will also allow you to use the React file structure you're familiar with, within your existing project.
Back to React
Next we're going to add some code to our main React component and put that file in your React folder. Your React can initially look like this:
import React, { Component } from "react";

class ReactApp extends Component {


  render() {


    return (
      <div className="app">
        My React App Works
      </div>
    );
  }
}


export default ReactApp;
The next piece of the puzzle
Okay, let's get React connected to that element in your markup and working in your project. Go to your main app.js (or similarly named) file and then import React into that file.
You'll also need to get your element from your markup using JavaScript and then render it around the React virtual DOM within that element.
import React from 'react';
import ReactDOM from 'react-dom';

const myAmazingReactApp = document.getElementById('my-amazing-react-component');

import ReactApp from './React/ReactApp.js';

if (myAmazingReactApp !== null) {
  ReactDOM.render(
    <ReactApp
      props={propFromExistingProject}
      props={propFromExistingProject}
      />,
    myAmazingReactApp
  );
}
Getting your React JS ready for Production
You've built your incredible React JS app and you check your React dev tools plugin and you notice:
🚧 This page is using the development build of React. 🚧
How do we now go about deploying the React JS app and making it ready for production?
The one Grunt task to rule them all
We have to add a new Grunt task to our Grunt file in order to get the JavaScript ready to deploy, because the development version of React JS contains a lot of extra code that isn't necessary for a production environment.
grunt.registerTask("dist", [ "env:production", "browserify:dist", "uglify:dist" ]);Go back to your browserify.js file - and this time we're going to add a new export relating to our new task:
module.exports = {
	dev: {
		files: {
			'<%= resources %>/scripts/app.bundle.js': '<%= resources %>/scripts/app.js'
		},
		options: {
			browserifyOptions: {
				debug: true
			},
			transform: [
				['babelify', {
					presets: ["env", "react"]
				}]
			],
			plugin: ['exorcist']
		}
	},
	dist: {
		files: {
			'<%= resources %>/scripts/app.bundle.js': '<%= resources %>/scripts/app.js'
		},
		options: {
			browserifyOptions: {
				debug: false
			},
			transform: [
				['babelify', {
					presets: ["env", "react"]
				}],
				'uglifyify'
			]
		}
	}
};
Then create an env.js file within the Grunt folder
module.exports = {
    production: {
        NODE_ENV: 'production'
    }
};
Next up, Uglify:
module.exports = {
	dev: {
		options: {
			sourceMap: true,
			sourceMapIn: '<%= resources %>/scripts/app.bundle.js.map' // input sourcemap from a previous compilation
		},
		files: {
			'<%= app %>/scripts/app.min.js': ['<%= resources %>/scripts/app.bundle.js'],
		}
	},
	dist: {
		options: {
			sourceMap: false
		},
		files: {
			'<%= app %>/scripts/app.min.js': ['<%= resources %>/scripts/app.bundle.js'],
		}
	}
}
What these tasks do is ensure your JavaScript is compiled and ready for production, saving you precious seconds and bytes when a user loads your website.
One last change
Now within your Gruntfile.js you need to now change your build task to reflect the fact that there are now two environments, so you can continue to develop once you've run your dist Grunt task.
I've changed the browserify and uglify tasks here to run the :dev command & anywhere else that may using uglify should now be changed to use the :dev option so that I can run Grunt as I was before.
grunt.registerTask('build', ['browserify:dev', 'uglify:dev']);...and like that, React JS in your existing project using Grunt & Babel, ready to go.

I can feel the excitement radiating off of you already as you embark on including React JS in your existing project. Go nuts.
Hit any snags or have any questions about this? Tweet us.

